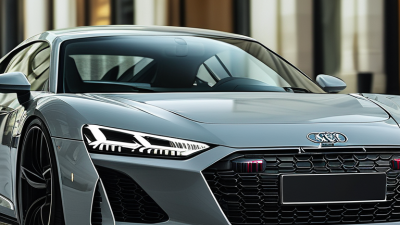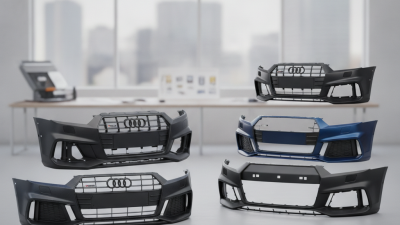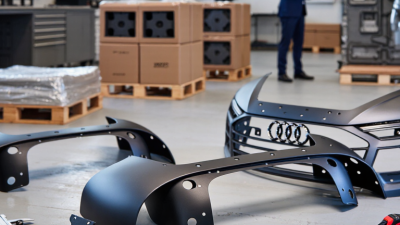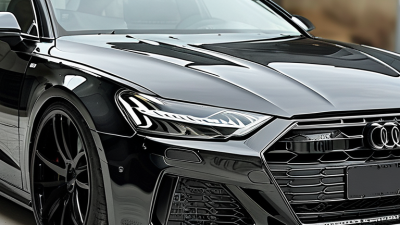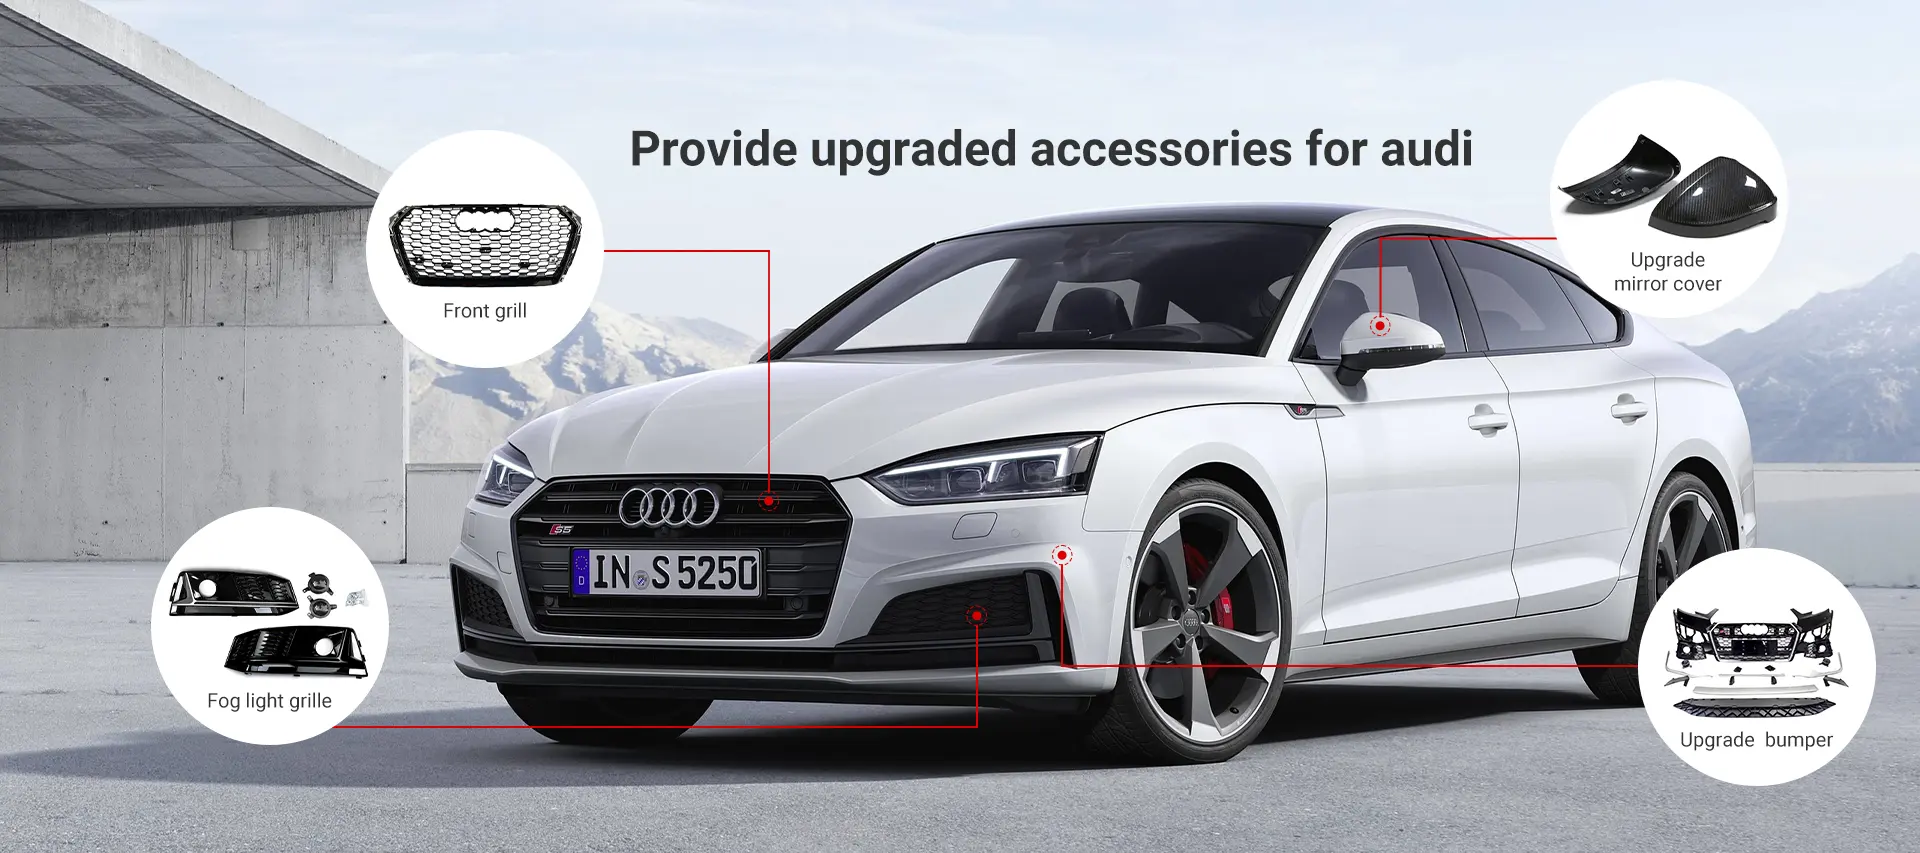


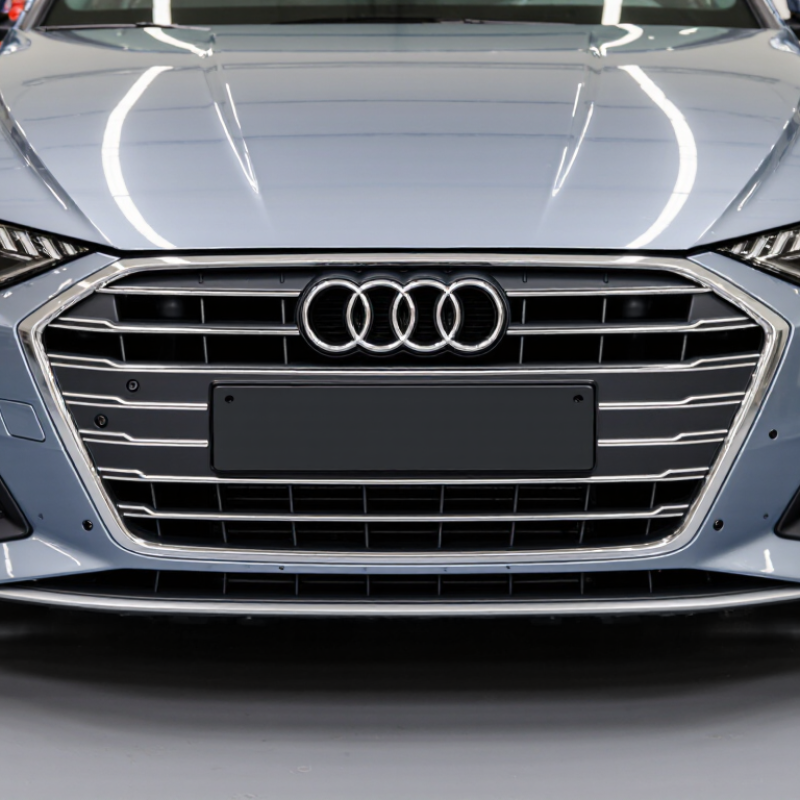
Buying a Front Bumper Audi is not simply a matter of choosing the cheapest painted panel online. The correct part must match your Audi’s model, year, trim, engine, and parking-sensor layout. A bumper for an A4 S line may look similar to a standard A4 bumper, yet the mounting points and lower grille can differ. Small details matter.
Audi design chief Marc Lichte has described the brand’s identity clearly: “The singleframe is the face of the Audi brand.” That idea helps explain why bumper selection deserves careful attention. A replacement should preserve fit, airflow, pedestrian-safety design, and the vehicle’s original appearance. Check the part number. Inspect the tabs, brackets, grilles, fog-light covers, camera openings, and sensor holes. Ask whether the bumper is genuine, aftermarket, repaired, or primed for painting.
Seven practical tips can reduce expensive mistakes. Confirm compatibility through the VIN or a trusted Audi parts specialist. Compare photographs from several angles. Look for shipping damage before signing delivery documents. Verify whether hardware and trim pieces are included. Consider calibration after installation, especially when radar or parking sensors are involved. Review the seller’s return policy. Finally, obtain a written quote covering paint, fitting, clips, and sensor checks.
It sounds simple. It often is not.
One weak assumption can create additional costs. I have seen buyers focus on a smooth finish while overlooking missing brackets. That is an imperfect approach, but an instructive one. Reliable buying depends on documented compatibility, transparent condition reports, and advice from qualified technicians. This guide examines those checks in practical detail, helping you choose a Front Bumper Audi with greater confidence and fewer surprises.
Before buying a front bumper, identify your vehicle’s exact model, production year, and generation. Similar-looking cars may use different mounting points. Check the registration documents and the vehicle identification number. A parts catalog can confirm the factory configuration. Do not rely on photos alone.
Trim and body style also matter. A sport package, wagon, sedan, or performance version may require a different bumper. Inspect the front end for parking sensors, camera openings, headlamp washers, grilles, and air ducts. Count every sensor position. Measure the lower vents if the listing seems unclear. Small differences can create expensive fitting problems.
I once trusted a seller’s “universal fit” description. It was not universal. The bumper looked correct, but two brackets were several millimeters away. That mistake taught me to request clear photos of the rear mounting area. Ask for the part number, production range, and sensor compatibility in writing. Some details remain uncertain, especially with mid-year updates. Leave room for doubt. A qualified body technician can compare the old bumper before installation. Paint matching also deserves attention. Factory colors may vary slightly after years of sunlight. Keep the damaged bumper until compatibility is confirmed.
Use this seven-step checklist to identify your vehicle correctly and confirm front-bumper compatibility before ordering.
How to use this chart: Verify each item in order. The vehicle model, generation, model year, body style, facelift version, installed equipment, and mounting interfaces can all affect front-bumper fitment. A bumper that matches the model name but differs in generation, body style, or equipment may not install correctly.
7 Tips for Buying a Front Bumper Audi
Choosing between an OEM, aftermarket, and used front bumper requires more than comparing prices. OEM parts usually offer precise fitment and matching mounting points. They often cost more, but installation can be quicker. Aftermarket bumpers provide wider price choices and new styling options. Check their material quality, sensor openings, and warranty terms carefully. A used bumper may save money. Inspect it under bright light for cracks, repaired tabs, deep scratches, and uneven paint.
Confirm the exact model year, body style, and parking sensor layout before ordering. Compare the part number with reliable catalog information. Ask for clear photos of every mounting edge. Do not trust a single front-facing picture. For aftermarket parts, verify whether grilles, brackets, absorbers, and trim pieces are included. Some sellers show a complete bumper but ship only the outer cover. That mistake can delay installation for days.
Paint matching deserves attention. Even a correctly fitted bumper may look different beside an older fender. Ask whether the part arrives primed, painted, or ready for preparation. I once saw a used bumper with perfect paint but a hidden split near the lower mount. It failed during installation. I should have checked the backside first. A reputable seller should provide condition details, return terms, and shipment protection. Keep every message and photograph.
7 Tips for Buying a Front Bumper Audi
Check Material Quality, Damage, and Included Components
Material quality affects fit, durability, and repair options. Compare the bumper’s thickness with your original panel. Thin plastic may flex easily and crack around mounting points. Look for even molding, clean edges, and reinforced tabs. These small details often reveal manufacturing consistency.
I once inspected a bumper that looked perfect in online photos. The lower edge had a slight wave, which appeared only under bright light. Run your hand across the surface. Check for dents, deep scratches, stress marks, and repaired cracks. Examine every tab, bracket, grille opening, and sensor hole. A missing tab can create alignment problems during installation.
Damage is not always obvious. Ask for close photographs of the corners and inner structure. Confirm whether the part is new, professionally repaired, or previously installed. I have learned that trusting a seller’s general description is not enough. Written details matter.
Included components need equal attention. Confirm whether the package contains grilles, fog-light covers, tow-hook panels, sensor holders, clips, brackets, and hardware. Some listings show a complete bumper but sell only the outer shell. That mistake can increase both cost and installation time. Check part measurements and mounting locations against your vehicle before ordering. Small differences can matter. When uncertain, request the component list in writing and keep the seller’s response for your records.
Compare prices across at least five sellers before choosing a front bumper.
The cheapest listing may exclude shipping, brackets, grilles, or sensor covers.
Check the exact model year and trim carefully. Small mounting differences can create expensive fitting problems. Measure the bumper’s width and inspect clear photos of every mounting tab. Ask whether parking sensors, washers, or cameras require additional openings. I once trusted a neat product photo and missed a damaged lower edge. That mistake delayed installation for several days.
Seller reliability matters as much as price.
Read recent reviews, not only the overall rating. Look for comments about packaging, communication, delivery accuracy, and refund handling. A reliable seller should provide a physical business address, clear contact details, and a detailed invoice. Request photos of the actual bumper before payment. Avoid vague descriptions such as “fits many models.” They often hide important limitations. Keep every message and delivery record.
Study the warranty before committing.
Confirm its length, covered defects, return shipping rules, and exclusions for paint, installation, or shipping damage. Ask whether the warranty begins at delivery or installation. Photograph the package before opening it, then record cracks or missing parts immediately. Compare the total cost, warranty strength, seller history, and expected repair work together. My own comparison sheet was imperfect, but it exposed a small price difference and a much weaker warranty. That changed my decision.
Buying a front bumper for a premium vehicle requires more than matching a photo. Confirm the exact model year, body style, engine package, and parking-sensor layout. Small differences can change mounting points, grille openings, and camera brackets. A close match is not enough.
Check the installation requirements before paying. Ask for the bumper’s OE replacement number, material type, sensor compatibility, and included hardware. Confirm whether fog-light bezels, washers, radar mounts, or impact absorbers must be transferred. It may need extra parts.
S&P Global Mobility reported that the average U.S. vehicle age reached 12.6 years in 2024. Older vehicles often have replaced trim, previous repairs, or modified wiring, so inspect your existing bumper carefully. Take clear photos behind the bumper. Measure bolt-hole spacing.
The Insurance Institute for Highway Safety reports that bumper design affects repair costs in low-speed impacts, making proper energy-absorbing components important. Do not assume a cheaper cover offers equal protection.
I once focused too heavily on surface finish and overlooked a missing sensor bracket. That mistake delayed installation. Request fitment data from the seller, verify the return policy, and ask whether professional calibration is required after installation.
Test-fit the bumper before painting. Check panel gaps near the headlights, fenders, hood, and wheel liners. Uneven gaps are warning signs. A professional installer can confirm final fitment before permanent mounting.