

What Is an Audi Body Kit and How Do You Choose One?

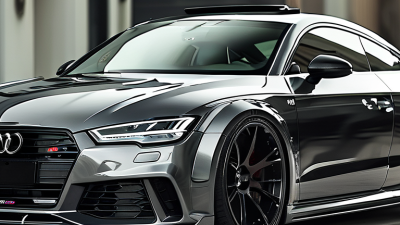
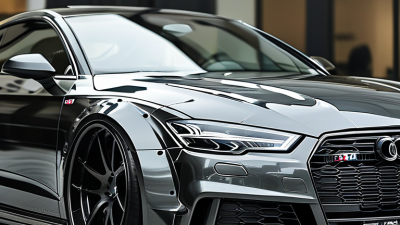
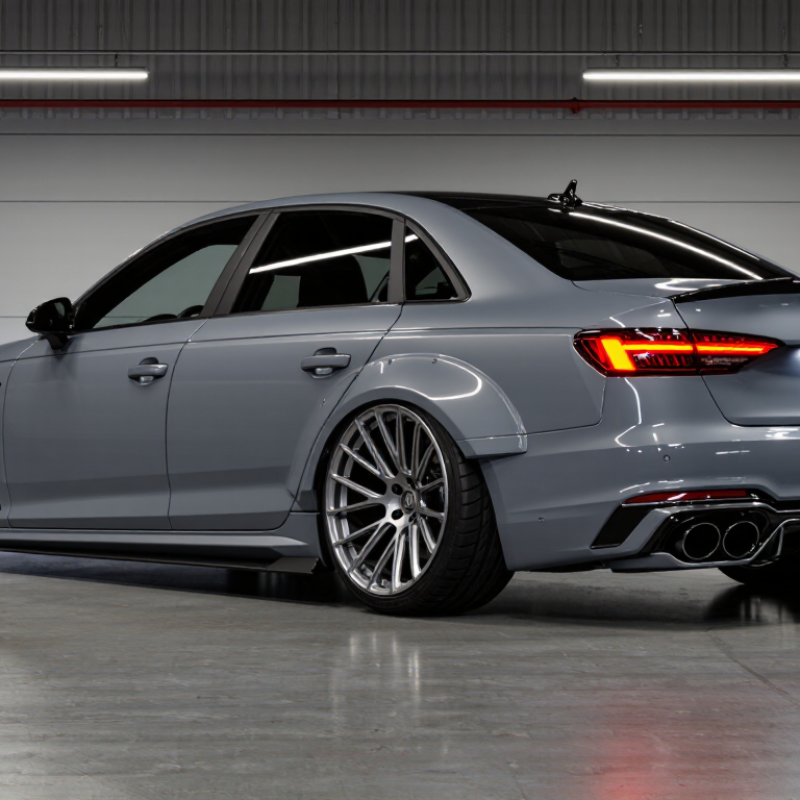
An Audi Body Kit can change a car’s character within a single afternoon. A deeper front splitter lowers the visual stance. Wider side skirts create a sharper line beneath the doors. A carefully shaped rear diffuser can make the exhaust area look more balanced. Yet appearance is only one part of the decision.

Peter Schreyer, former Audi design chief, once said, “A design must be functional, but it must also have an emotional appeal.” That principle applies directly to choosing an Audi Body Kit. The strongest option should complement the original bodywork, not hide it beneath oversized details. It should also match your Audi’s exact generation, bumper design, wheel fitment, and intended use.

Measure twice.

A kit may look perfect in photographs but sit poorly against a real fender. Small gaps can become obvious under bright garage lighting. Low splitters may scrape on steep driveways. Some aggressive wings also create unwanted attention without delivering meaningful aerodynamic benefit. These details are easy to overlook, and I have found that “sportier” does not always mean better.

This guide explores materials, fitment, styling, installation, and practical costs. It also considers daily driving, weather exposure, and future maintenance. A professional installer can identify weak mounting points before paintwork begins. Still, no expert can choose your taste for you. The best Audi Body Kit is the one that improves proportion, supports safe use, and feels convincing every time you see the car.
What Is an Audi Body Kit and How Do You Choose One?

What an Audi Body Kit Is and What It Changes

An Audi body kit is a group of exterior parts that changes a car’s shape, stance, and airflow. It may include bumpers, side skirts, a spoiler, a diffuser, or wider fender extensions. These parts do more than create a sharper appearance. A lower front lip can guide air differently, while a rear diffuser may reduce turbulence beneath the vehicle. The effect depends on the design, material, and installation quality.

I have seen poorly matched kits create uneven panel gaps, bumper vibration, and annoying tire noise. Fitment matters more than dramatic styling. Check the kit’s measurements, mounting points, ground clearance, and compatibility with parking sensors. Fiberglass is often affordable, but it can crack after a hard impact. Reinforced plastic or composite materials may handle daily use better. Weight also matters.

Small changes can feel significant. A deeper side skirt may scrape on a steep driveway. Wider arches may require different wheels or spacers. The car can look more planted, but handling may not improve automatically. I once underestimated how quickly a low splitter could meet a curb. That mistake changed my installation checklist. Always test clearance, inspect fasteners, and allow for professional paint matching. A body kit should suit the vehicle’s existing lines, not fight them.

What Is an Audi Body Kit and How Do You Choose One? - What an Audi Body Kit Is and What It Changes

A body kit changes exterior form, airflow behavior, clearance, and sometimes vehicle weight; it does not automatically increase engine power.
Body-Kit Component What It Changes Typical Practical Effect Key Selection Factors Important Checks
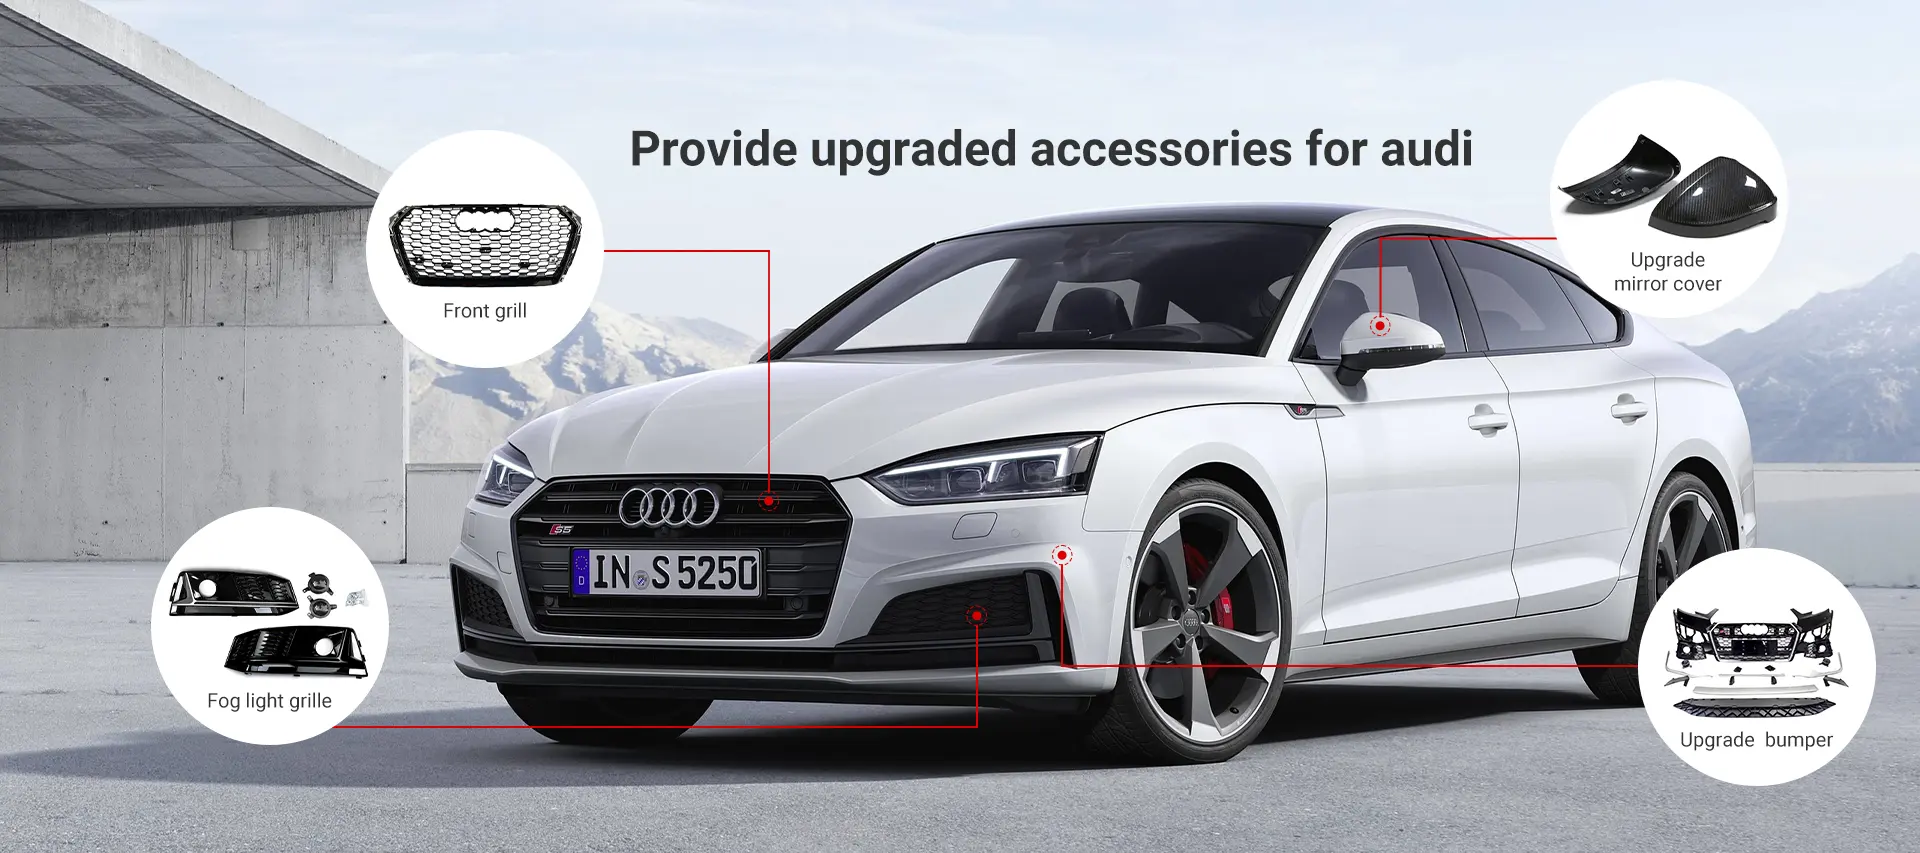
Front bumper cover or front lip Changes the front profile, lower edge, and sometimes the path of air around the nose. Creates a lower, more defined appearance; a correctly shaped lip may help manage airflow at speed. Vehicle generation, bumper shape, material, parking conditions, and desired visual depth. Confirm sensor, grille, headlamp-washer, cooling-air, and underbody clearances before installation.
Side skirts Extend or reshape the lower side panels between the wheel openings. Visually lowers the vehicle and can reduce the exposed gap beneath the doors. Door clearance, lifting points, mounting method, road height, and compatibility with existing trim. Check that the skirts do not interfere with jacking equipment, doors, or standard maintenance access.
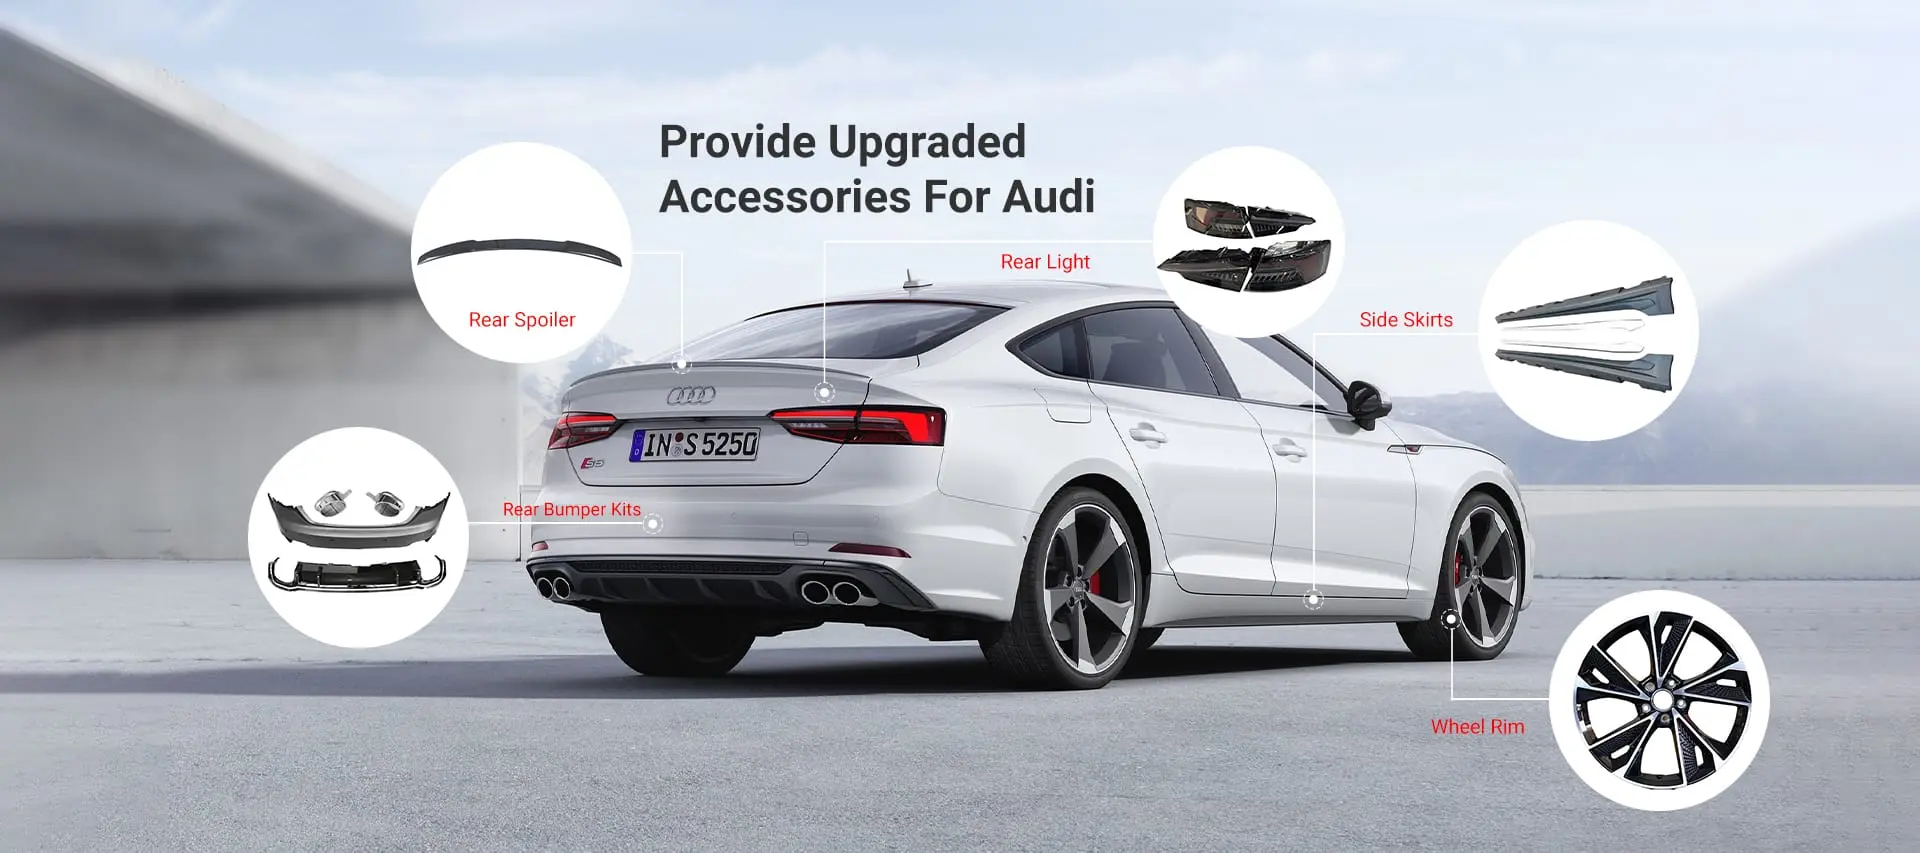
Rear diffuser or rear valance Reworks the lower rear area and may organize airflow leaving the underside. Adds a sportier rear appearance; aerodynamic benefit depends on the complete underbody design. Exhaust outlet position, heat resistance, parking clearance, and mounting points. Maintain safe exhaust heat gaps and avoid blocking reverse sensors, reflectors, or required lighting.
Rear spoiler or deck-lid lip Adds a raised or extended surface to the rear edge of the vehicle. Changes the rear silhouette and may increase rear aerodynamic load when properly engineered. Mounting strength, size, material, visibility, trunk access, and intended driving conditions. A cosmetic spoiler should not be treated as a tested aerodynamic device without verified performance data.
Hood or bonnet panel Changes the upper front profile and may add vents or revised contours. Can reduce or increase weight depending on construction; functional vents may affect heat evacuation. Panel fit, hinge and latch alignment, water management, material strength, and pedestrian-safety design. Do not use open vents without considering water drainage, engine-bay protection, and structural requirements.
Fender extensions or wide-body panels Increase body width around the wheel arches. Allows a wider visual stance and may provide room for wider wheels or tires. Wheel offset, tire width, suspension travel, steering lock, panel alignment, and total vehicle width. Check tire coverage, rubbing at full steering lock, mudguard requirements, and local width regulations.
Grille or exterior trim Changes the front visual pattern and may alter air openings. Provides a styling update; airflow and cooling can change if openings are reduced or redirected. Opening area, mounting clips, camera position, radar location, and finish durability. Keep driver-assistance sensors, cooling paths, license-plate mounting, and exterior lamps unobstructed.
Complete body-kit package Combines several exterior parts into one coordinated design and changes the vehicle’s overall proportions. Offers a consistent appearance but may increase weight, reduce clearance, and raise repair complexity. Complete vehicle identification, part compatibility, material quality, installation skill, and budget. Verify roadworthiness, lighting, sensor calibration, wheel clearance, fastener security, and insurance requirements.
Choosing principle: Match every component to the exact vehicle generation and body style, prioritize secure fitment and ground clearance, and treat aerodynamic claims cautiously unless supported by testing data.

The Main Components Found in an Audi Body Kit

A body kit is a coordinated set of exterior parts for a performance sedan. Its main components include a front bumper, side skirts, rear bumper, diffuser, and spoiler. The front bumper may include a deeper splitter that directs air beneath the car. Side skirts reduce visual gaps and can support smoother airflow along the doors. A rear diffuser helps manage air leaving the underside, while a spoiler can add stability at higher speeds. These parts must match the vehicle’s exact generation and body shape. Small differences can create large fitting problems.

Material choice also matters. Fiberglass is affordable and easy to reshape, but it may crack after a sharp impact. Carbon composite is light and rigid, yet it costs more and needs careful installation. High-quality polyurethane usually tolerates daily bumps better. I recommend checking panel gaps, mounting points, sensor openings, and wheel clearance before purchase. A dramatic design is not always practical. I once saw a kit with excellent styling but poor ground clearance. It looked impressive, then scraped on a modest driveway.

Tips: Compare the kit with your driving conditions. Measure bumper height and tire clearance first. Ask for installation instructions and verified fitment data. Leave space for parking sensors and cooling ducts. Paint matching can also reveal flaws. A professional installer should test-fit every panel before final finishing. That extra step may feel slow, but it prevents expensive corrections.

What Is an Audi Body Kit and How Do You Choose One?

A body kit is a group of exterior components designed to change a vehicle’s appearance and airflow. The chart shows representative midpoint weights for common aftermarket kit components; actual values vary by material, design, and vehicle fitment.

When choosing a body kit, compare the component material, fitment, installation method, ground-clearance impact, and total added weight. A complete kit commonly includes front and rear bumper sections, side skirts, a diffuser, and a spoiler.

How to Match a Kit to Your Audi Model and Goals

An Audi body kit reshapes a car’s appearance and sometimes its airflow. The right choice starts with the exact chassis code, not only the badge. A B9 A4 kit will not automatically fit a B9 S4. Bumper openings, exhaust outlets, parking sensors, and wheel arches can differ. Check these details before ordering. S&P Global Mobility reported that the average U.S. vehicle age reached about 12.6 years in 2024. Older cars may need extra inspection before modification.

Your goal should guide the design. Choose subtle lip extensions for daily driving and easier ground clearance. Select wider side skirts or a diffuser when visual impact matters more. Track-focused use demands stronger mounting points and confirmed airflow performance. A large spoiler may look effective, but it can add weight without meaningful stability.

The global automotive aftermarket exceeded 400 billion dollars in recent industry estimates from Grand View Research. That growth also brings inconsistent product quality. I have learned that cheaper parts often require more preparation than expected.

Tips: Measure every mounting point. Confirm sensor compatibility. Ask for material thickness and test-fit photos. Leave room for suspension travel. A professional installer should check panel gaps, fastener access, and paint movement. Do not ignore the wheels. Their width, offset, and tire size can change whether the kit rubs during tight turns. A perfect fit is not guaranteed. Recheck it after installation.

How to Compare Materials, Fitment, Safety, and Legal Requirements

What Is an Audi Body Kit and How Do You Choose One?

An Audi body kit changes a vehicle’s visual shape and sometimes its airflow. The important choice is not appearance alone. Compare polyurethane, ABS plastic, fiberglass, and carbon-fiber composite. Polyurethane usually tolerates small impacts and cold weather better. ABS is light, consistent, and easier to replace. Fiberglass can be rigid, but it may crack around mounting points. Carbon fiber is light, yet expensive and less forgiving after impact. These are practical observations, not guarantees. Manufacturing quality matters more than a material label.

Fitment requires measurements, not optimism. Check the exact model year, body style, parking sensors, camera openings, wheel clearance, and factory mounting points. A gap near a headlamp can reveal poor alignment. NHTSA’s FMVSS 581 includes low-speed bumper tests, including 2.5-mph front and rear impacts. A replacement bumper may not preserve the original performance. IIHS research also shows that bumper geometry can affect repair costs after minor crashes. That detail is easy to miss. Confirm that lamps, reflectors, sensors, and pedestrian-clearance areas remain unobstructed. Local inspection rules may also require certification or approval.

Tips: Request a fitment diagram, installation instructions, and test documentation before buying. Prefer fasteners over permanent bonding where service access matters. Ask an experienced installer to check panel tension and sensor calibration. Keep the original parts. Legal requirements differ by location, and an attractive modification can still fail inspection. I would photograph every gap before installation. It makes later adjustments less subjective. Calibration may seem unnecessary, but warning lights are cheaper than guessing.

How to Plan Installation, Painting, and Long-Term Maintenance

An Audi body kit changes a vehicle’s shape, stance, and visual balance. Choose one only after checking your exact model, year, and body style. Even small differences can affect fitment. Fiberglass is affordable but may crack under impact. Polyurethane usually tolerates road movement better. Composite materials can be lighter, though repairs may cost more.

Plan installation with an experienced body shop. Ask for a dry fit before drilling or bonding anything. The technician should check wheel clearance, panel gaps, parking sensors, and underbody protection. Paint matching requires more than selecting a color code. Sun exposure can alter the existing finish. A skilled painter may blend nearby panels for a smoother result. Allow proper curing time before washing or driving aggressively. Rushing this stage can leave fingerprints, soft clear coat, or visible seams.

Tips: Photograph every panel before removal. Keep original clips and fasteners in labeled bags. Confirm the warranty in writing. Inspect the kit under bright lighting. I have seen attractive kits fail because owners ignored water drainage and ground clearance. That mistake is easy to repeat. After installation, wash gently and avoid harsh solvents. Check mounting points after the first week, then inspect them monthly. Look for loose hardware, stress cracks, faded paint, and rubbing near the wheels. A professional inspection remains worthwhile, especially after winter roads or minor contact. DIY work may save money, but uncertain alignment can create larger repair bills later.